Dialing Wireless Bridge Kit, UeeVii CPE71C
£105.00
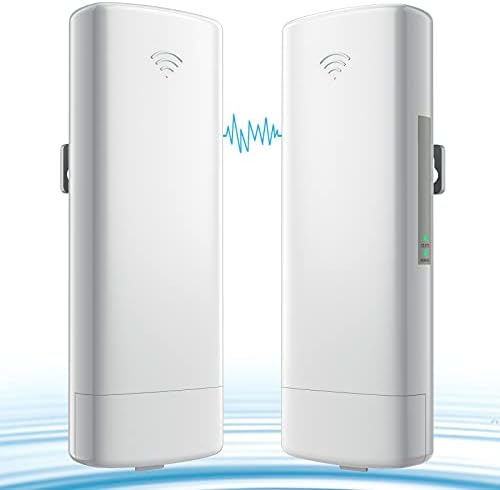
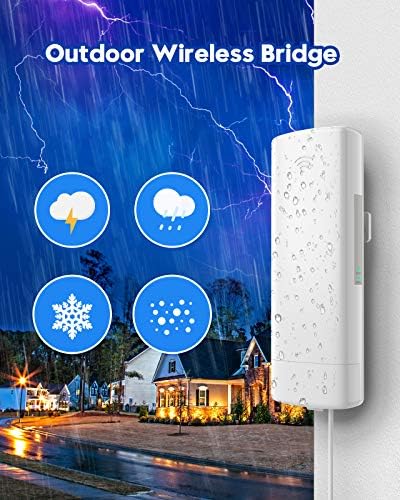
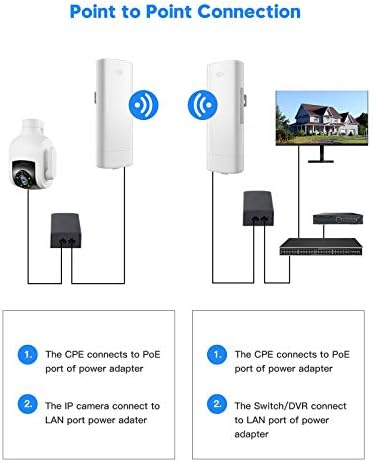
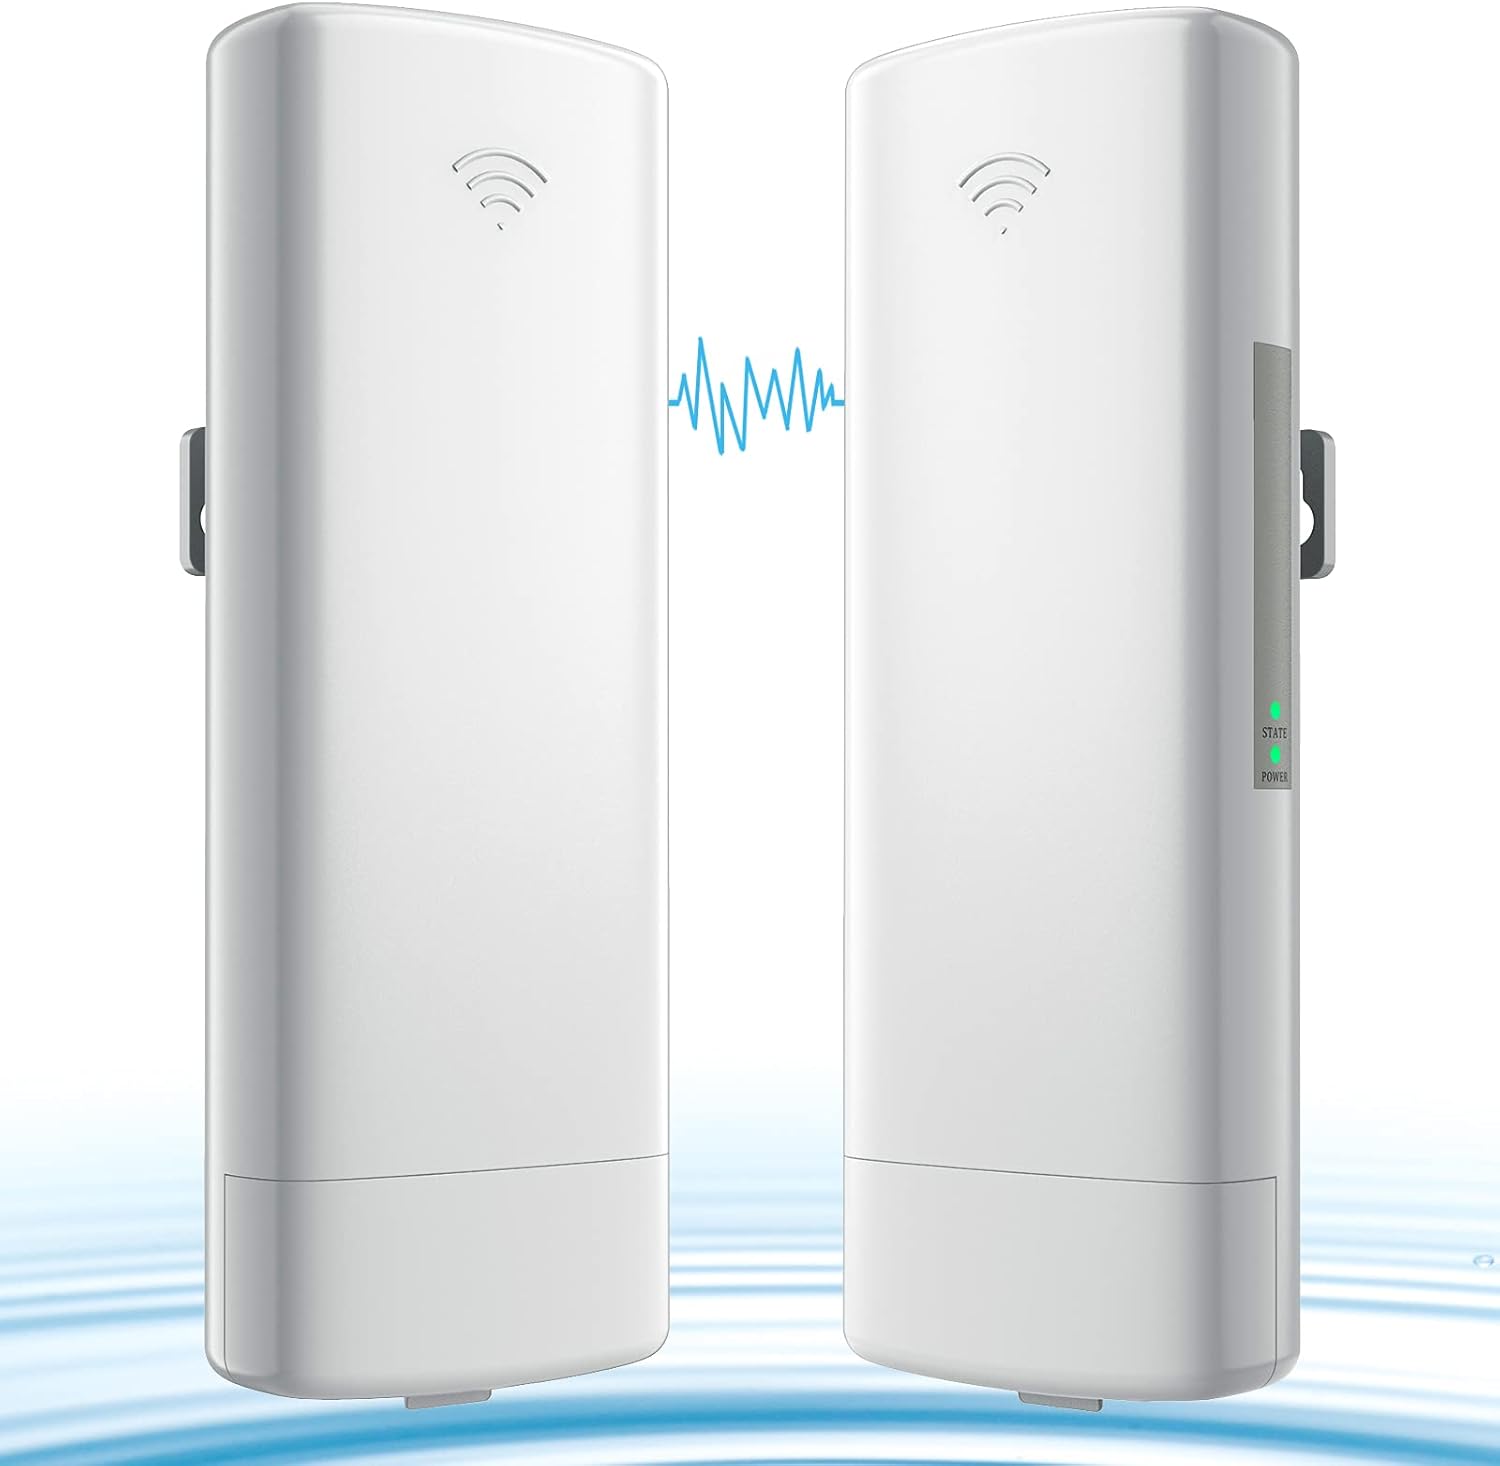
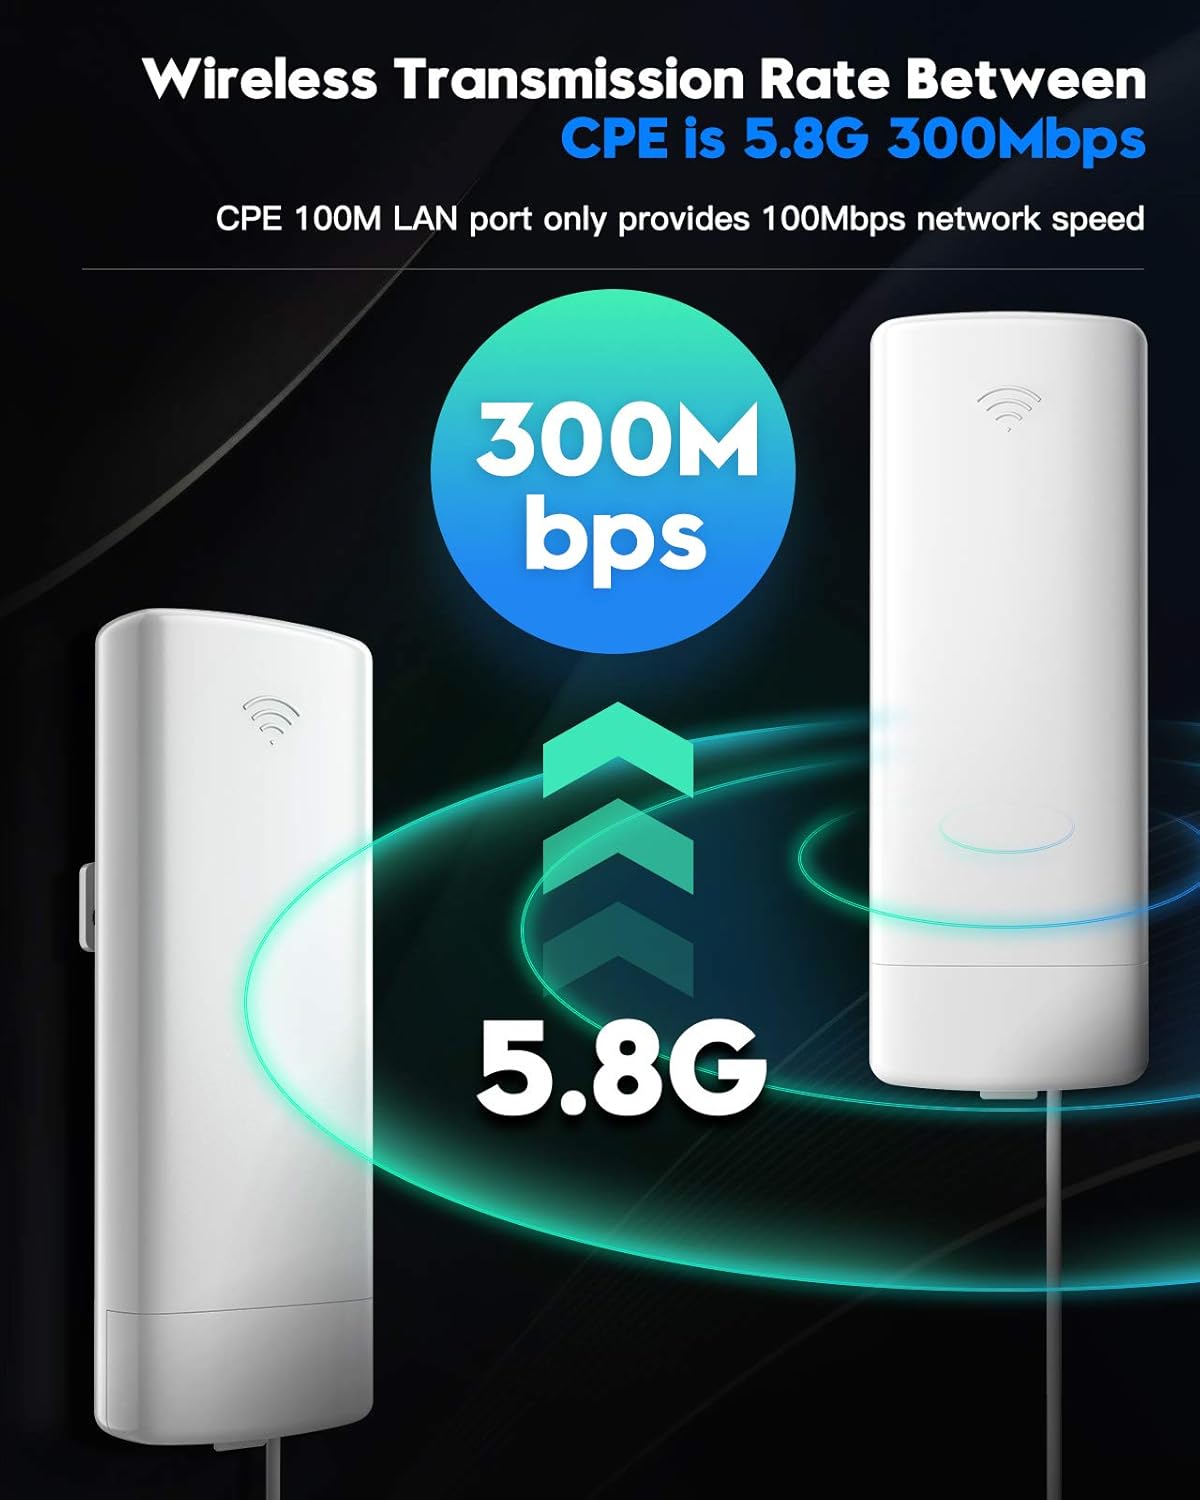
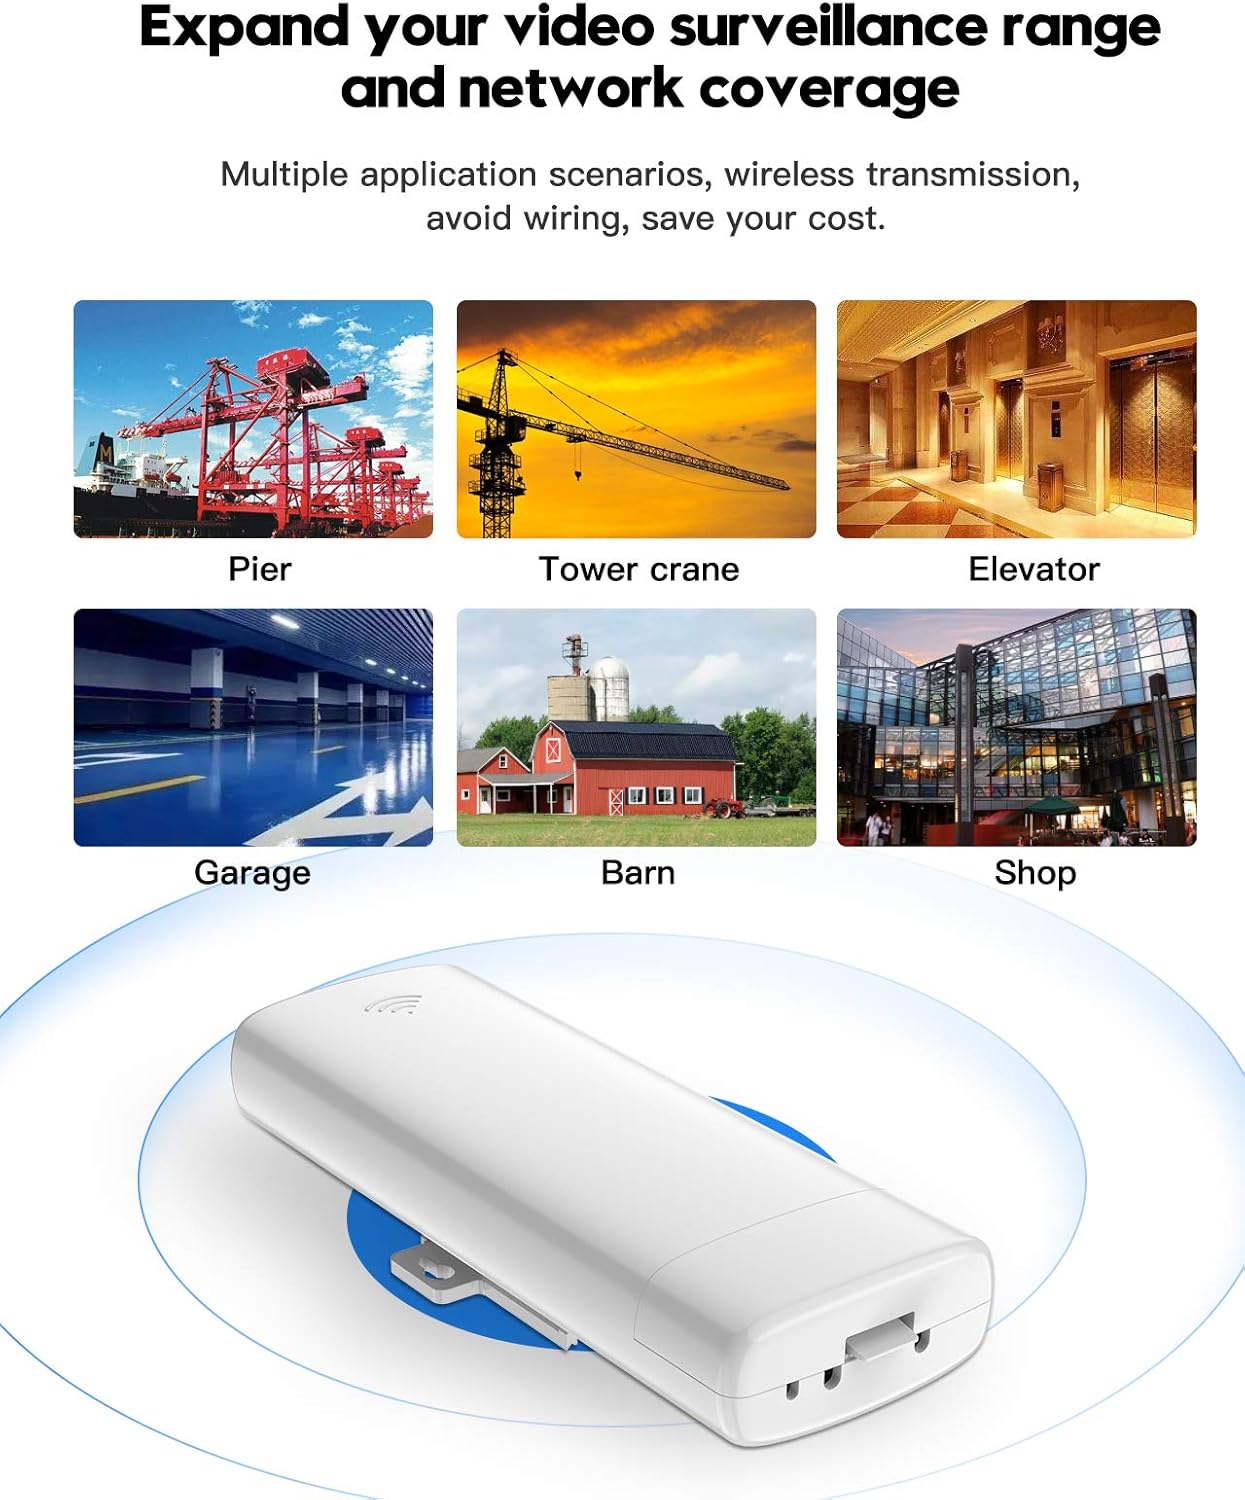
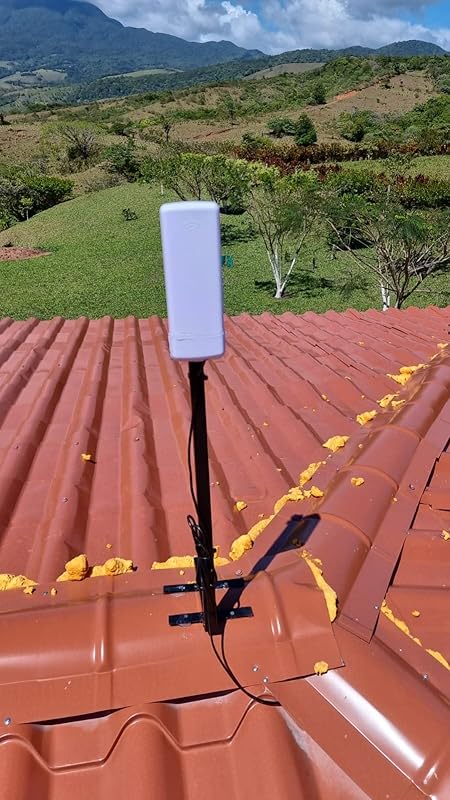
CPE71C dialing outdoor wireless bridge is high power and high-performance 5.8G point to point WiFi CPE, the transmission speed between 2 wireless WiFi bridges max is 300Mbps, highest network speed that can be achieved max is 100Mbps Ethernet WiFi bridge pairing can be done by dialing without having to access the GUI, avoid the complex setup program,make the long-range wireless coverage, data transmit and wireless monitoring simple and professional 3 km (visible unobstructed environment), actual application distance should be less than 3KM, built-in 14DBi directional antenna can significantly improve the transmission and reception performance of wireless signals 5G frequency makes long range wireless bridge has better anti-interference performance, good compatibility, and strong anti-adjacent channel interference, better than 2.4 G traditional CPE The CPE71C network bridge has IP65 waterproof level, which is very suitable for outdoor use and is rainproof, dustproof, and freezeproof Effortlessly extend your network to an old house, barn, shop, or garage by CPE71C point to point wireless bridge outdoor. Share the internet with neighbors or family members and save on subscription fees Pair the CPE71C outdoor wifi bridge with your Starlink router for extended coverage to distant outbuildings, ensuring seamless connectivity across your property CPE71C Wifi bridge point to point outdoor wire connects IP cameras to monitor large areas such as lanes, yards, or farms. No need for complex wiring, saving you time and costs
Did you like this product? Add to favorites now and follow the product.
(+800) 1234 5678 90 Start Live Chat
Description
Product Description
 Applications
Applications Case 1:
My son and I were trying to figure out a solution for his garage. We have a lot of high-tech gear out there, and it relies on the internet.
We have tried standard Wi-Fi repeaters and mesh systems. They just don’t have the range we need. We even tried a string of Wi-Fi range extenders connected to each other, with a cable between. Both just didn’t work. Not reliably, not at all. The distance was just too great. It’s nearly a mile from the house and that is just too far.
CPE71C wireless bridge wiring it up was pretty straightforward. We connected the one unit on the gateway in the house, we mounted it on the porch. We then set up the garage unit to the eve, facing the housing unit. We were lucky with a nice line of sight where we wanted to set up. In the garage, we connected it to the WAN port on a Wi-Fi router and we are in business. The speed is phenomenal. It is as fast as I. The house, not really any more noticeable lag either. Our phones now connect to Wi-Fi. The diagnostic systems are all connected to Wi-Fi. The smart TV is live. And the laptops are all running. We can stream, and even play some games. I can even stream movies from our DLNA server up at the house.
This has solved a major headache for us. I assure you, our cell carrier is sad about it now that we aren’t going over our data anymore.
Applications Case 2:
We have a second building that is about 150′ from our main building and needed stable internet for both employees and security systems. I tried reaching it with our mesh routers, but even placing one on an outside wall wouldn’t supply a stable signal. We could have installed a second modem/router but that would add hundreds to our initial install and monthly costs. Installing this bridge has offered a stable signal and wiring it into a mesh system, it has allowed us to expand our net throughout the second building.
Access Wireless Bridge Via Computer
 A. Modify your computer’s IP address.
Make your computer’s IP and the bridge’s IP address be on the same network segment(LAN) so that you can access them.
Step 1: Find and open “Open Network and Sharing Center” on your computer. Tips: click the network icon in the lower right corner of the computer.
Step 2:Find and open the “Change adapter settings”, select “Local Area Connection” to right-click to open the network properties. Refer to the picture above to open.
Step 3: Find and double-click open the “Internet Protocol Version 4(TCP/IPv4)”, choose the ” Use the following IP address” and enter IP address, subnet mask, Default gateway, Preferred DDS server.
B.Connect the CPE to the computer via Ethernet cable and PoE adapter.
Before accessing CPE, please make sure that you have set the computer IP address and the network segment of the wireless bridge IP to be the same.
C. To configure the wireless bridge, open a web browser. In the address bar of the web browser, enter the CPE IP address (such as 192.168.211.40). A login screen will appear, the password of the wireless bridge is “admin”, just entry password login.

 Point to Point Extend Network WiFi Range
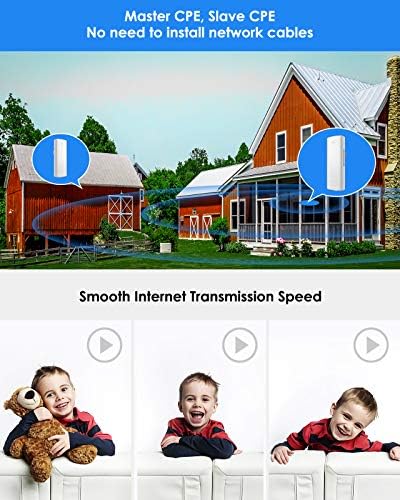
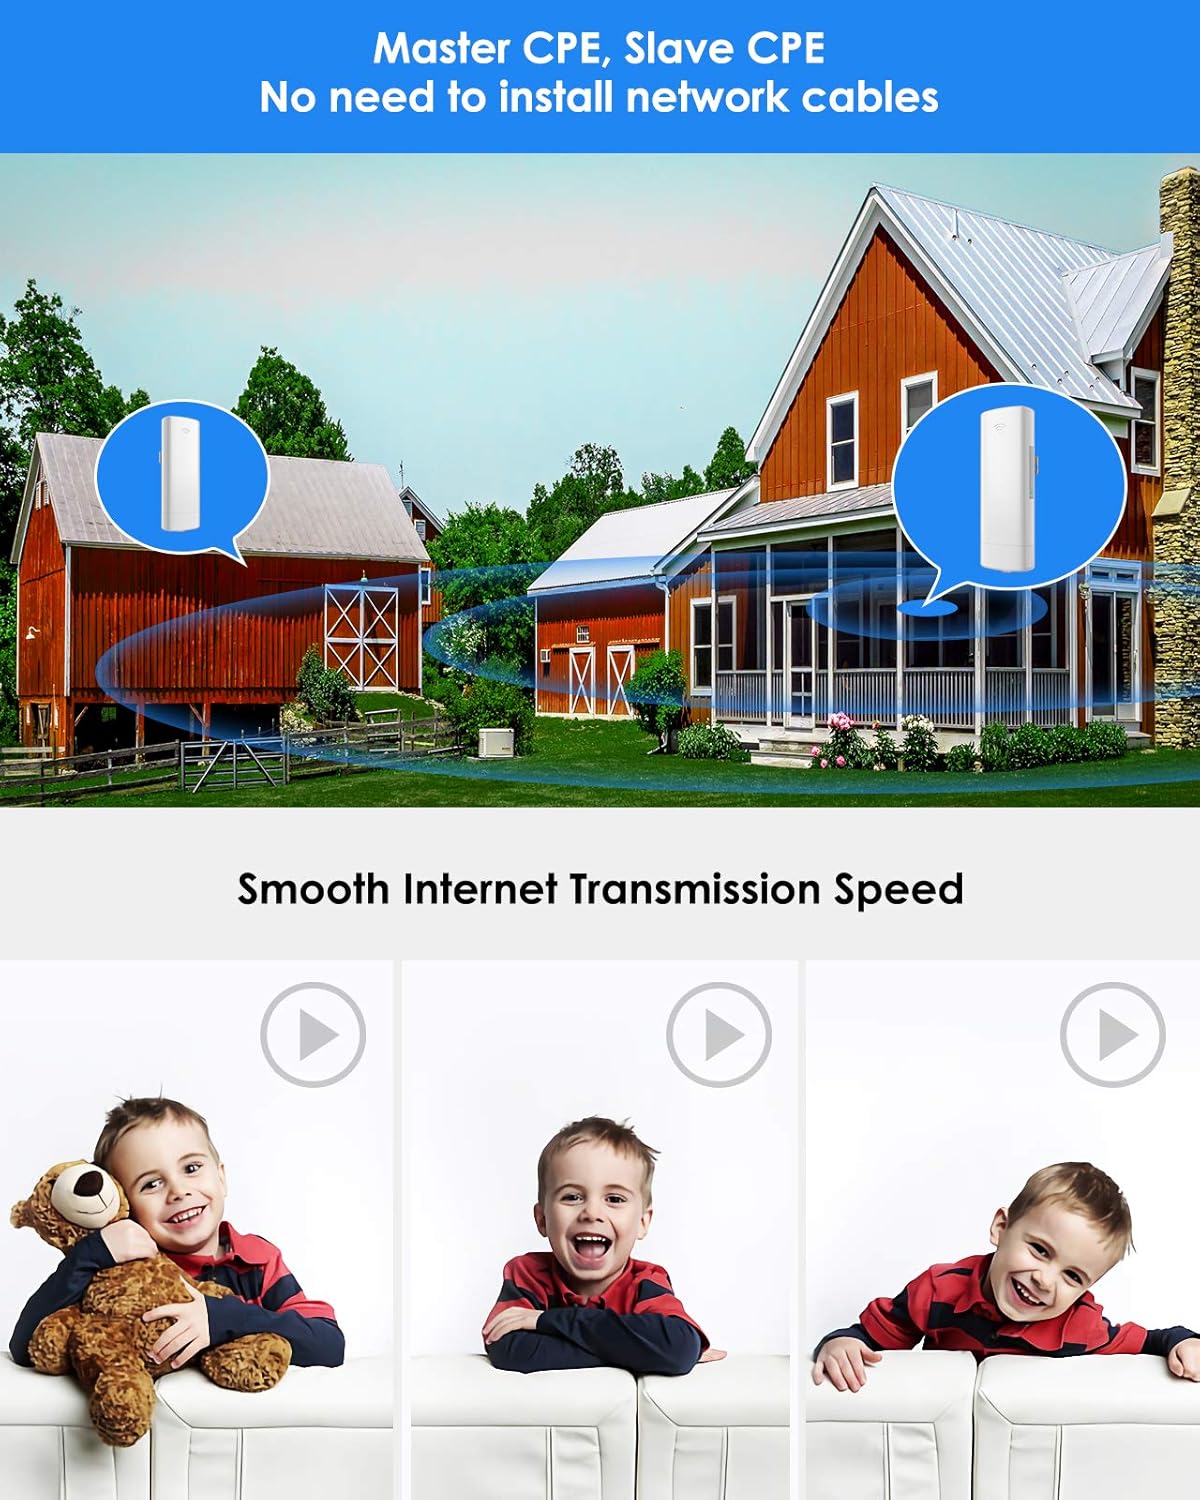
Extend the network in the house to your barn, garage, church, warehouse, even neighbor’s house through wireless bridge signal transmission. No need to install a new modem and pay for it every month, saving you money.
 Point to Point Extend Video Surveillance Range
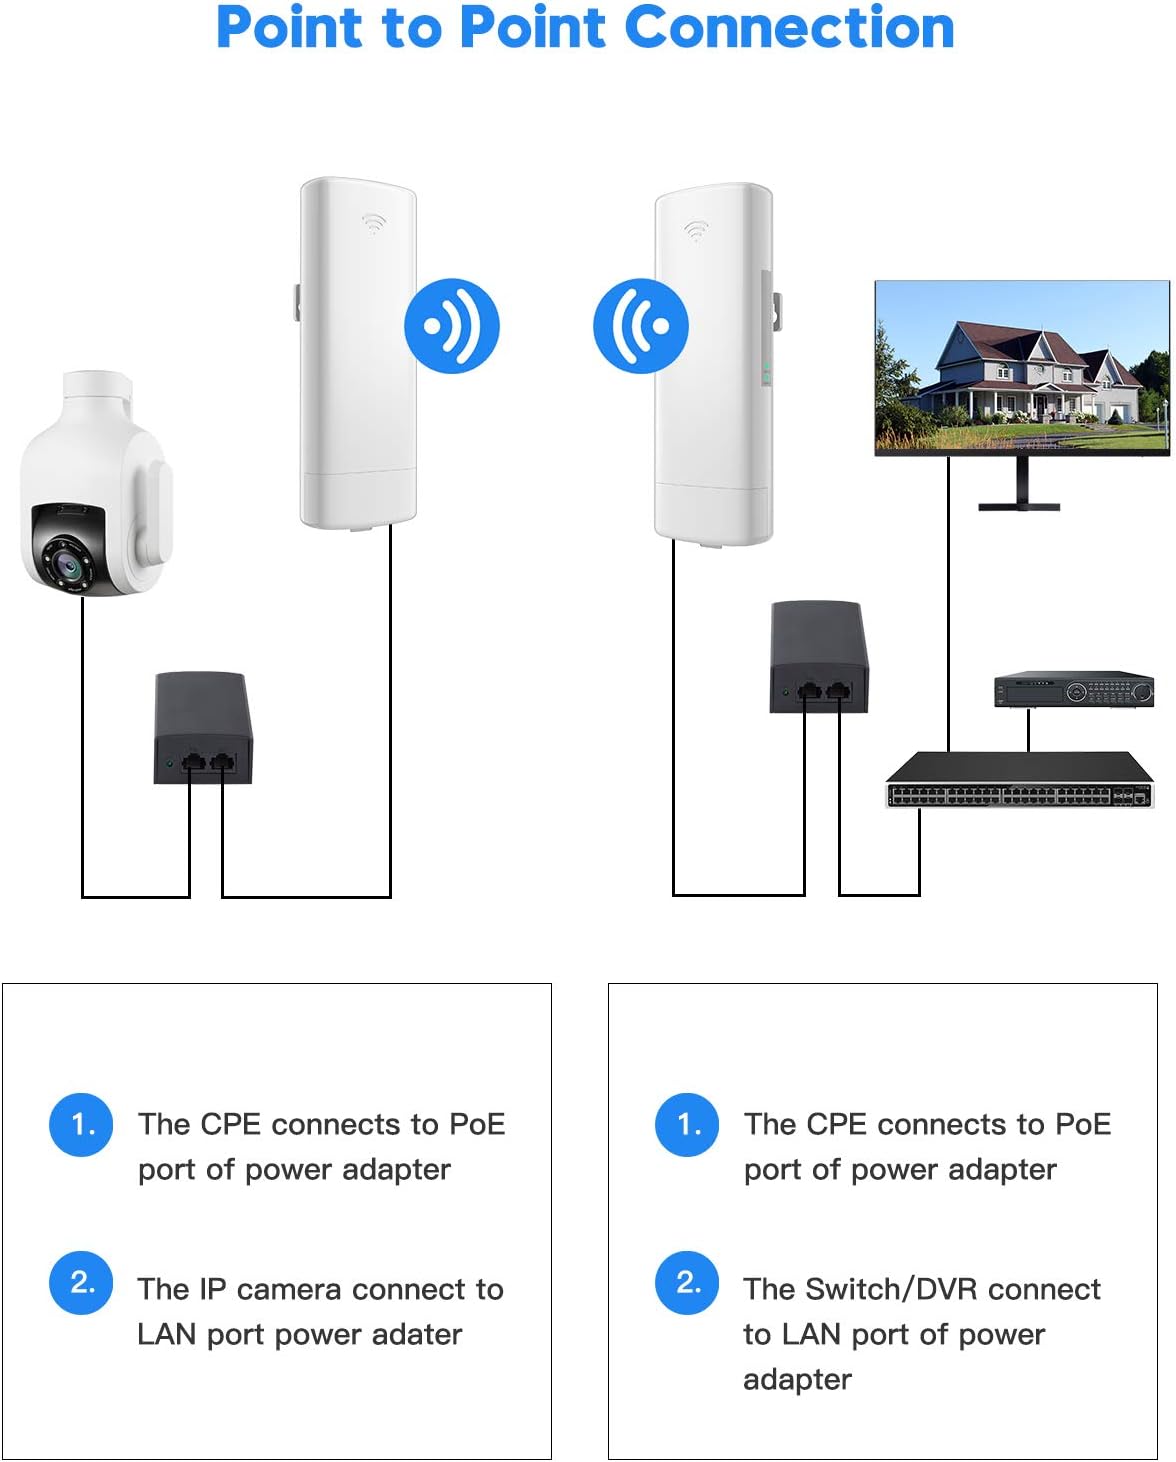
Help you expand the surveillance range, install surveillance cameras outside the yard without the need to lay network cables and cables.

 UeeVii Outdoor Wireless Bridge
Thank you for choosing UeeVii CPE71C Wireless Bridge. Please read this user manual carefully before use, and keep it for future reference. If you need any assistance please feel free to contact our customer support team by email .
UeeVii Outdoor Wireless Bridge
Model: CPE71C
Package List:
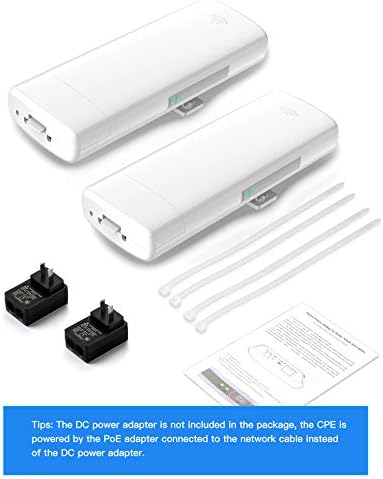
2 x CPE71C
2 x PoE Adapter
2 x Cable Ties
1 x User Manual
Note: The CPE using “Ethernet cable” and “PoE adapter” for the power cable and adapter, so the DC power supply is not included.
- Follow standards:IEEE802.11a,IEEE 802.11n
- PoE Power:24V
- Antenna:14dbi, MIMO 2×2 (2Tx,2 Rx)
- Wired interface: 1 * 10/100Mbps LAN port
- Network Speed: 100Mbps
- Applicable distance:>3KM

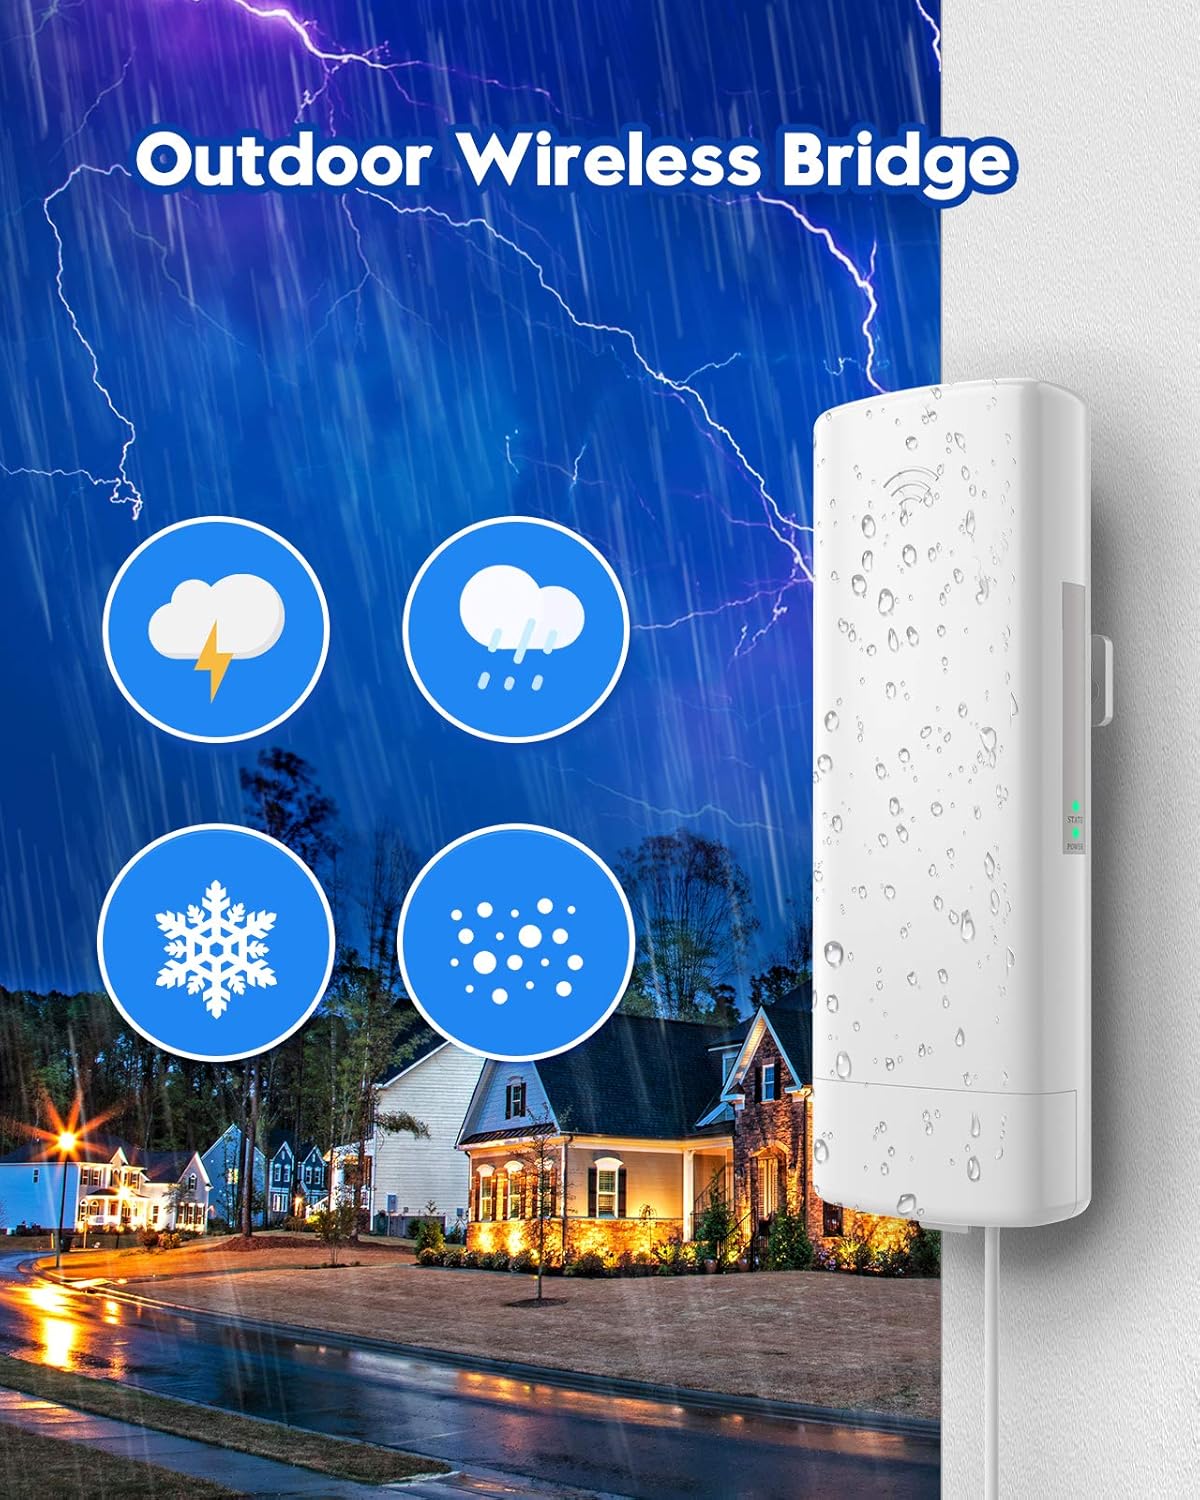
CPE71C dialing outdoor wireless bridge is high power and high-performance 5.8G point to point WiFi CPE, the transmission speed between 2 wireless WiFi bridges max is 300Mbps, highest network speed that can be achieved max is 100Mbps Ethernet WiFi bridge pairing can be done by dialing without having to access the GUI, avoid the complex setup program,make the long-range wireless coverage, data transmit and wireless monitoring simple and professional 3 km (visible unobstructed environment), actual application distance should be less than 3KM, built-in 14DBi directional antenna can significantly improve the transmission and reception performance of wireless signals 5G frequency makes long range wireless bridge has better anti-interference performance, good compatibility, and strong anti-adjacent channel interference, better than 2.4 G traditional CPE The CPE71C network bridge has IP65 waterproof level, which is very suitable for outdoor use and is rainproof, dustproof, and freezeproof Effortlessly extend your network to an old house, barn, shop, or garage by CPE71C point to point wireless bridge outdoor. Share the internet with neighbors or family members and save on subscription fees Pair the CPE71C outdoor wifi bridge with your Starlink router for extended coverage to distant outbuildings, ensuring seamless connectivity across your property CPE71C Wifi bridge point to point outdoor wire connects IP cameras to monitor large areas such as lanes, yards, or farms. No need for complex wiring, saving you time and costs
Product Dimensions 13.38 x 3.93 x 3.14 inches
Item Weight 2.05 pounds
Manufacturer UeeVii Shenzhen Yazhou Shang Technology Co., Ltd.
ASIN B08XLDZM3X
Item model number CPE71C
Customer Reviews /* * Fix for UDP-1061. Average customer reviews has a small extra line on hover * https://omni-grok.amazon.com/xref/src/appgroup/websiteTemplates/retail/SoftlinesDetailPageAssets/udp-intl-lock/src/legacy.css?indexName=WebsiteTemplates#40 */ .noUnderline a:hover { text-decoration: none; } .cm-cr-review-stars-spacing-big { margin-top: 1px; } 4.1 4.1 out of 5 stars 134 ratings var dpAcrHasRegisteredArcLinkClickAction; P.when(‘A’, ‘ready’).execute(function(A) { if (dpAcrHasRegisteredArcLinkClickAction !== true) { dpAcrHasRegisteredArcLinkClickAction = true; A.declarative( ‘acrLink-click-metrics’, ‘click’, { “allowLinkDefault”: true }, function (event) { if (window.ue) { ue.count(“acrLinkClickCount”, (ue.count(“acrLinkClickCount”) || 0) + 1); } } ); } }); P.when(‘A’, ‘cf’).execute(function(A) { A.declarative(‘acrStarsLink-click-metrics’, ‘click’, { “allowLinkDefault” : true }, function(event){ if(window.ue) { ue.count(“acrStarsLinkWithPopoverClickCount”, (ue.count(“acrStarsLinkWithPopoverClickCount”) || 0) + 1); } }); }); 4.1 out of 5 stars
Best Sellers Rank #250 in Computer Networking Wireless Access Points
Date First Available February 26, 2021
Product information
Product Dimensions 13.38 x 3.93 x 3.14 inches Item Weight 2.05 pounds Manufacturer UeeVii Shenzhen Yazhou Shang Technology Co., Ltd. ASIN B08XLDZM3X Item model number CPE71C Customer Reviews 4.1 4.1 out of 5 stars
4.1 out of 5 stars Best Sellers Rank #250 in Computer Networking Wireless Access Points
Date First Available February 26, 2021
Warranty & Support
Product Warranty: For warranty information about this product, please click here
Feedback
Would you like to tell us about a lower price?

Dialing Wireless Bridge Kit, UeeVii CPE71C Point to Point 5.8G 300Mbps Long Range Signal Transmission Outdoor CPE with 14DBi Antenna PoE Power Adapter for Extend WiFi Network Video Surveillance Range
Share:
Found a lower price? Let us know. Although we can’t match every price reported, we’ll use your feedback to ensure that our prices remain competitive.
Where did you see a lower price?
Fields with an asterisk * are required
Price Availability
Website (Online)
URL *:
Price ($) *:
Shipping cost ($):
Date of the price (MM/DD/YYYY):
01
02
03
04
05
06
07
08
09
10
11
12
/
01
02
03
04
05
06
07
08
09
10
11
12
13
14
15
16
17
18
19
20
21
22
23
24
25
26
27
28
29
30
31
/
Store (Offline)
Store name *:
Enter the store name where you found this product
Enter the store name where you found this product
City *:
State:
Please select province
Please select province
Price ($) *:
Date of the price (MM/DD/YYYY):
01
02
03
04
05
06
07
08
09
10
11
12
/
01
02
03
04
05
06
07
08
09
10
11
12
13
14
15
16
17
18
19
20
21
22
23
24
25
26
27
28
29
30
31
/
Submit Feedback
Please sign in to provide feedback.
 />
/>
 />
/>
 />
/>
 />
/>
 />
/>
 />
/>
 />
/>
 />
/>
 />
/>


Additional information
| Product Dimensions | 13.38 x 3.93 x 3.14 inches |
|---|---|
| Item Weight | 2.05 pounds |
| Manufacturer | UeeVii Shenzhen Yazhou Shang Technology Co., Ltd. |
| ASIN | B08XLDZM3X |
| Item model number | CPE71C |
| Customer Reviews | /* .cm-cr-review-stars-spacing-big { 4.1 4.1 out of 5 stars 134 ratings var dpAcrHasRegisteredArcLinkClickAction; P.when('A', 'cf').execute(function(A) { 4.1 out of 5 stars |
| Best Sellers Rank | #250 in Computer Networking Wireless Access Points |
| Date First Available | February 26, 2021 |











D Jake Huntsman –
5.0 out of 5 stars
Excellent service and response time!
I bought this unit to set up internet for our detached spare room for use as a remote work station. It worked great until the master unit went down after a few days. I reached out to the customer service team by email and went through the trouble shooting steps to no avail. I reported back and the team sent out a replacement unit by FedEx and we were able to swap out the defective unit and get back up and running. Great team and excellent service, quick and easy steps to figure out the issue and I am one very happy customer!
Mona –
5.0 out of 5 stars
Comes preconfigured. Easy Setup. 1500+ feet effective.
Dec 20223 : 2 year use review :This set has worked flawlessly for 2+ years continuously. Been through extreme Central Texas heat, 2 major freezes, heavy rains : & didn’t disconnect even once. Just ensure it is mounted very firmly on the pole (or your exterior wall etc – higher up, the better). I am planning on setting this to connect to 2 more ‘slaves’. So 1 master supplying internet to 3 slaves. Great for installing security cameras to remote corners of the farm – by using small solar setup.Aug 5, 2021 : (when 1st installed)I needed to bridge 2 houses 1500 feet apart at my farm. It was quite easy and straightforward. Just use the “preconfigured” method, instead of the GUI etc. I used 50 foot CAT6 network cables both sides, to take them up on the roof of the 2 houses.1st, I powered the 2 up in the same room (both next to each other), simultaneously squeezed the RESET button on both – which caused them to pair. When the blinking green light turns solid green – it means they paired successfully.Next – I tested their connection while both still in the same room … MASTER connected to the Internet Router, and SLAVE connected to my laptop. The Internet was successfully beaming across the 2!!…now came the part of mounting the 2 at top of the two separate houses, 1500 ft apart. Which I did. Made sure the 2 devices faced each other …though they don’t have to PERFECTLY face each other.They easily “connected” at that distance of separation …. took about 2 mins to re-connect, after I reconnected to POE power at the other house.One little drawback to be careful about : the 2 green lights on the side are REALLY DIM. So dim, that when out in the bright daylight, they don’t appear lit at all. For a while I thought the devices were not powering up – perhaps due to faulty cable. But then I cupped my hands around the lights and peered in – and saw the light WERE actually lit.At the second house – I connected the LAN output on the small black power/POE adapter – to a WIFI router. So this second house now is fully WIFI Internet connected. Working perfectly.One little ‘trick’ I used – that I believed helped get a stronger signal. I had an old “leftover” dish antenna on top of the second house. I turned it around to face the MASTER house, and placed the SLAVE device at the focal point of the dish.
19 people found this helpful
Paul Webster –
1.0 out of 5 stars
absolute Garbabge
bought 2 sets they didn’t work. bought one more in case problem with the first two it didn’t work.Tried to return them. they didn’t reply now my return window is up
daveshoot –
4.0 out of 5 stars
Works great once you figure it out
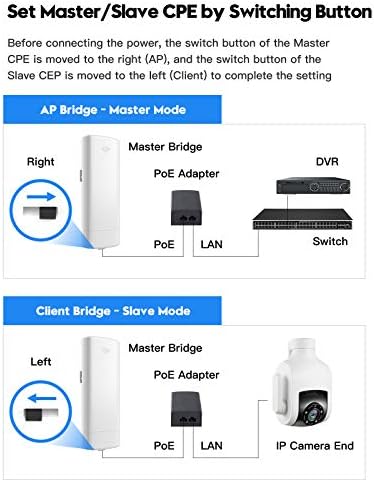
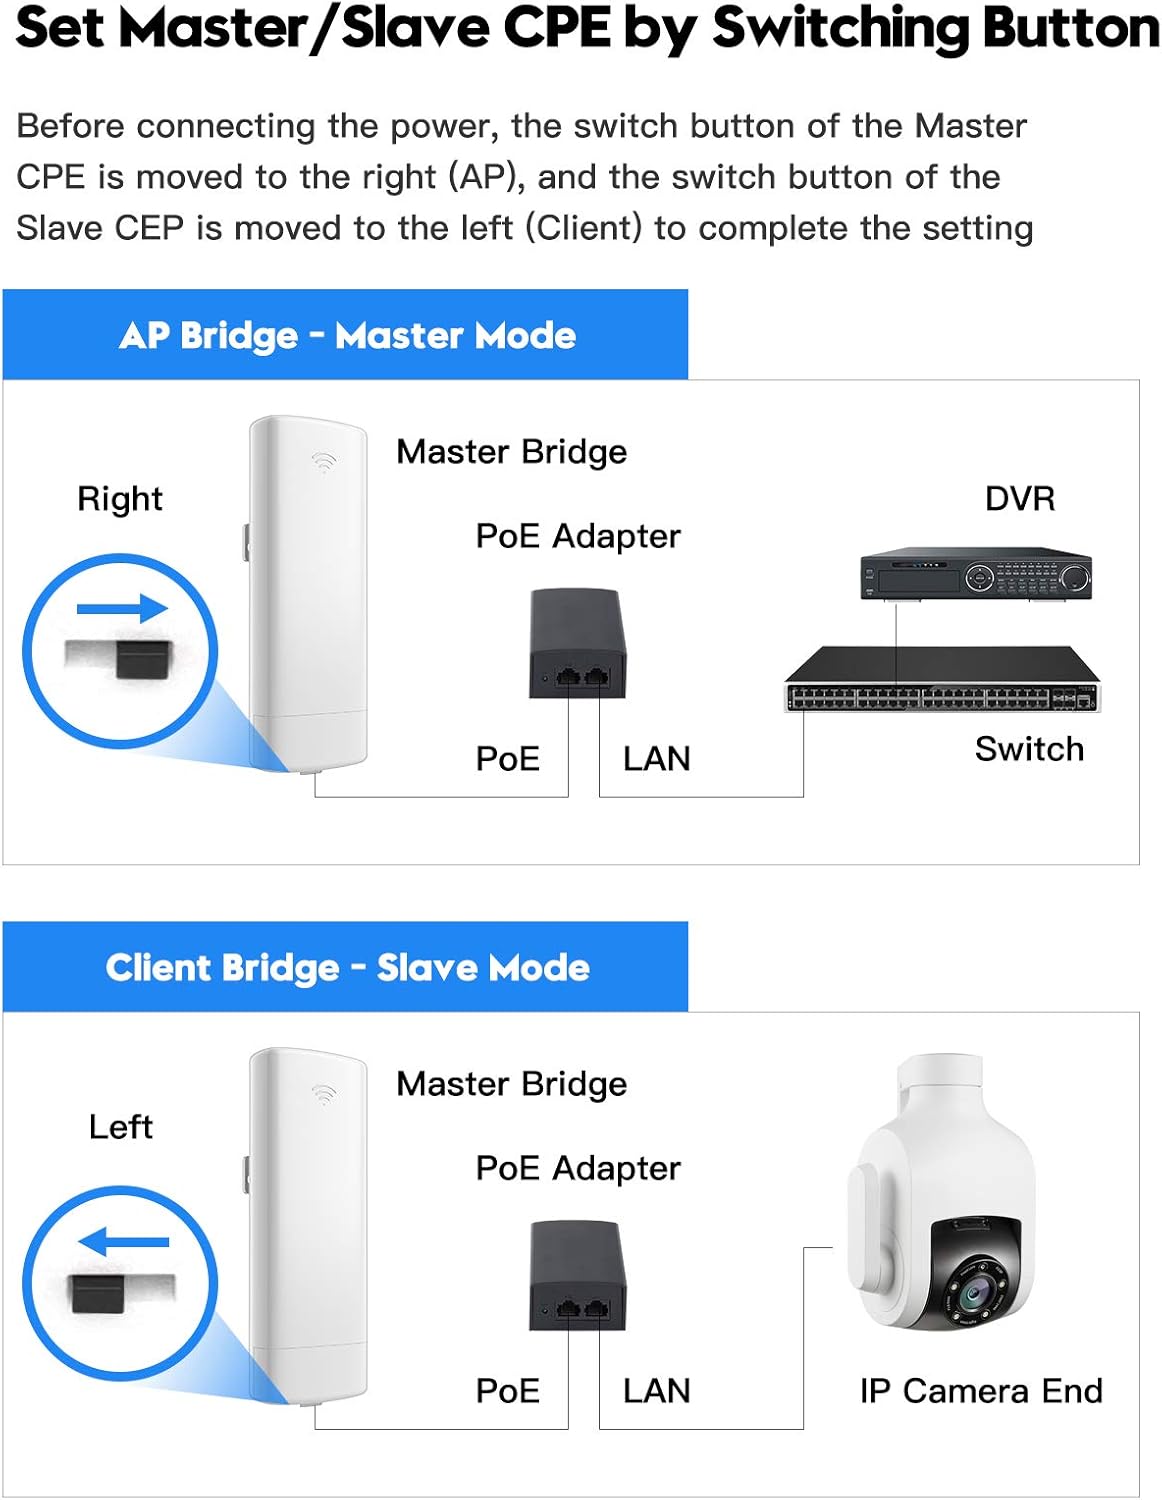
I am shooting about 200 feet from a fake dormer window in a (very hot) attic to an RV in a lower pasture. There is a large live oak and a metal shipping container in between. From the dormer, I can just clear the corner of the container to reach the other end through the RV window.Once I figured it out, this works GREAT! It is day 1 so I may need to update over time, but I am totally impressed with the performance.The “manual” is awful. It is almost better not to even look at it, as it is very confusing and goes into more config detail than most people need (with screens from Internet Explorer 🙁 ), but skips really basic steps that would make the whole thing painless.The house has a Google WiFi mesh system with 3 nodes. The master Google node has an outbound LAN jack (no POE) which I used for the UiiVee connection. FWIW, the whole system is fed by a Ubiquiti dish link to a local mountain, as the primary connection (very rural here).Ok: The unpronounceable UiiVees come with power cubes (plug in 120VAC wall transformers) that have 2 x RJ-45 jacks. One is for POE, and one is plain LAN without power. The UiiVee devices also have a 12VDC input jack for separate power, but they say this is “not supported” and while I was able to power it up with some random power supply, I don’t believe it was adequate for the unit at full power.You really need (as I did in the Google WiFi scenario) 2 x Ethernet cables, one just to power the thing, and one to actually connect the web from the non-POE jack. A bit counter-intuitive, but you run the POE power CAT5 or whatever to the cube, which is plugged into wall power, and then run another CAT5 from the cube’s plain LAN output down to your Google WiFi or other router.There is a tiny switch in the wire compartment. The “master”(on the internet side) must be set to the right. The “slave” (on the downstream side) must be set to the left. They must both be set to the same channel, and the red display in the wiring compartment shows which channel they are on (you may need a magnifying glass). You just keep pressing the tiny Reset button to change the channel, which is shown in the red display. The devices are paired out of the box, but I may have screwed that up myself, so I had to re-pair, and that is how it’s done.Once the channels are the same on each, point them generally at one another and wait a minute. Each device has 2 green lights on the side, one just shows power, but the other shows connection status. If the second light is blinking, they have not paired: either wait a bit or check the channel settings again. When that second light goes solid, you are good… you now have a very long piece of wireless cable installed.I recommend setting them up first in the same room, a few feet apart, to get through this and verify proper operation, before installing in the field or their final location. I would certainly not call them weatherproof, but perhaps under an overhang in a mild climate they’d be ok. Manual does not address this topic.I probably also made it sound harder than it is… really all I had to do was plug the things in and point them at one another, once I figured out the POE cube situation.Dd I mention these things are FAST? My speed tests from a Chromebook and iPhone (so far, Windows PC to follow) in the RV via the UiiVee are much faster than those in the house on the internal mesh system.For now I am very happy with this level of performance, especially at the price. UiiVee should change their product name to something more suitable for marketing purposes, and have someone redo the manual, and they would rule the skies… subject to long term reliability, of course.
12 people found this helpful
BbReview –
5.0 out of 5 stars
Good Product – Horrible Instructions
I wanted internet in a detached garage without running buried cable. This product is one of several I considered. For the money, I decided to get this.Here’s what I think each person should know before buying it:1. Instructions are terrible, the company knows it and say they are working on improving them but, maybe I should go ahead and make a YouTube video they can use. What? No.2. The power is provided for each unit by a wall wart type plug that accepts Ethernet cables. One is for power and data to the unit so make sure your cable is capable of PoE. The other cable goes from the plug to the router.3. The unit at the house which goes to the modem for your internet service is considered the “Master” and the switch is set to AP from the manufacturer. Check that before mounting it to save yourself some hassles. The other unit is the STA setting for “slave” or “station”. This is the unit on the out building.4. There are no mounts.5. Disregard the 12V power plug inside the unit, you don’t need it, it’s not supported and you wouldn’t want to use it because that would mean having AC near each unit.6. There is a small reset button inside the unit that also selects different channels to use. Make sure each unit is on the same channel.7. If both lights on the unit are illuminated and NOT blinking the units are paired.8. These should be plug and play. If it doesn’t work you probably don’t have them paired correctly, have the AP/STA switches backwards or have a bad cable.These were a pain to get working because the company has terrible directions. The company did send a prompt reply via email support but by then I had it working.Hassle up front but now clear and fast internet in the shop.
11 people found this helpful
rstull10 –
5.0 out of 5 stars
Works good
Fit my new radiator just fine hooked up works great just what I wanted
Meterman –
5.0 out of 5 stars
Stable Wi-Fi connection
Our church was looking for a way to live stream Sunday service from an outdoor sanctuary in a near-by wooded area. I saw a video review on You Tube channel for Carey Holzman who used this for a similar problem. The distance for this transmission is between 500 to 600 feet part of which is through a wooded area. If I put the Transmit unit in the window facing the woods, and the Receiver on a post about 7 feet up facing the Transmit unit I got a solid green signal light on both units. I could live stream with no interruptions for over 1 hour. I have done this twice so far with no problems. I did have to change the channel setting on both units to channel “d” to get a good signal.We are happy with these units. They work out of the box. Don’t mess with the user interface. Also the instructions are not so good. Watch Carey Holzman’s video review on this.
7 people found this helpful
boysie ragoonanan –
5.0 out of 5 stars
Almost was dissapeared
Got these today and didn’t realize i ordered a used system. Everything in the box was already opened and the cable’s were already plugged in to the boxes. I got them to extend wifi range to my man cave/shed a little over 150ft away. I didn’t really want to set them outside as it was only a 150ft away and these where rated to reach over a mile. I have 3 walls that I had to go through plus the shed wall so I had mine fingers crossed that it would work. It took all of 3mins to setup an THEY WORK PERFECTLY SO FAR. I will come back an update my review if anything changes but my wifi connection work’s better in my shed then in the house.
One person found this helpful
Bridgette –
4.0 out of 5 stars
Beat My low expectations
It works great once I read another reviewer’s explanation on setup, as opposed to the very limited and confusing instructions that came with the product.In reality, setting up is very simple once you understand the product. From my master bridge, I have it pointed out a window towards my other home, which is obstructed with a garage and 370 ft away, and connecting the slave unit to a router has worked perfectly–much to my surprise. I had even started the return to Amazon thinking I wasn’t going to figure out how to use it. Now, I am buying another one to shoot to another property half a mile away.
William Cowin –
5.0 out of 5 stars
geat!
works perfectly, using it to send signal almost 200 feet with no problems